background knowledge
In the field of modern medicine, the accuracy of medical instruments plays a crucial role in disease diagnosis, surgical treatment and medical research. From microscopic cell detection instruments to macroscopic surgical navigation and positioning devices, any slight error can lead to serious consequences.
With the continuous progress of science and technology, the emergence of 3D camera technology has brought a new solution for medical instrument testing. It can comprehensively test medical instruments in a non-contact, high precision and fast way, greatly improving the quality and safety level of medical care.

Camera selection
Today we will introduce the application case of Next vision tech LVM2 346 line laser 3D camera in medical industry testing!
The LVM2 3463D intelligent sensor of Next vision tech has a full-frame acquisition rate of 1000Hz, physical contour points of 1920 points, and can achieve up to 4096 points under uniform spacing sampling conditions for depth maps, specifically designed to meet the harsh production environment in factories, suitable for scenarios requiring rapid detection of moving objects.
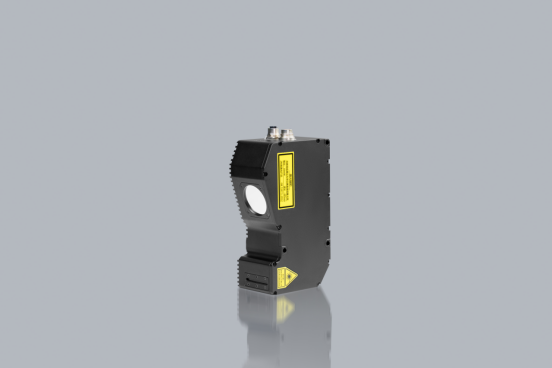
surveillance project
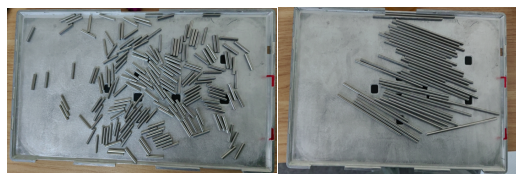
The cylindrical parts in the vibration pan are shown in the figure
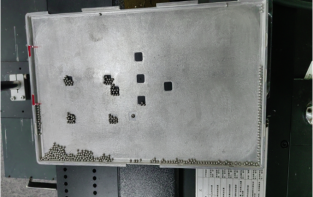
The picture shows the steel ball parts in the vibration pan
Workpiece information
· Tray size: 400*400mm
· Cylinder: Size 1:20*3.1mm
Size 2:100*3mm
· Steel beads: circular steel beads with a diameter of 3mm
Testing requirements
· The number of products in the vibration pan
Testing environment and installation method
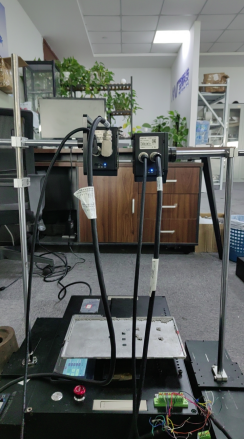
· Scanning method: the camera is fixed, and the test sample moves along the center line for scanning measurement
· Trigger mode: encoder trigger, output stable AB difference signal
· Communication mode: TCP/IP Ethernet
Cylindrical product (short) sampling effect
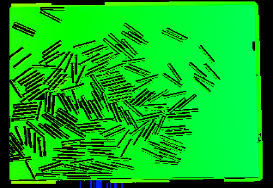
The figure shows the effect of a single camera point cloud
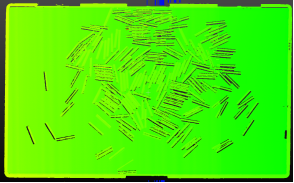
The figure shows the effect of the point cloud after splicing
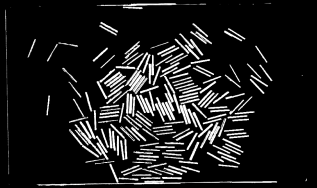
The image shows the depth effect after the splicing
Cylindrical product (long) sampling effect
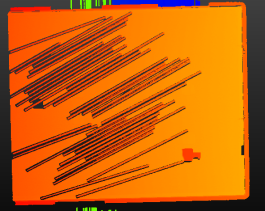
The figure shows the effect of a single camera point cloud
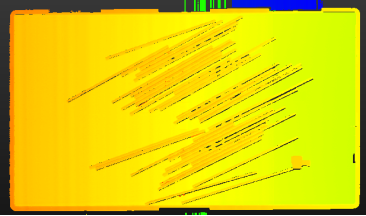
The figure shows the effect of point cloud after splicing
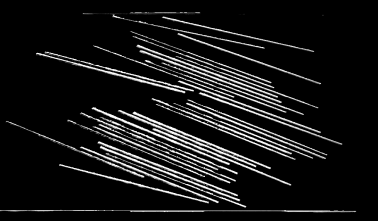
The image shows the depth effect after splicing
Steel bead shaped product sampling effect
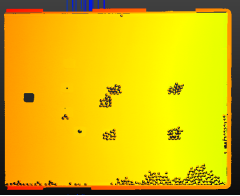
The figure shows the effect of a single camera point cloud
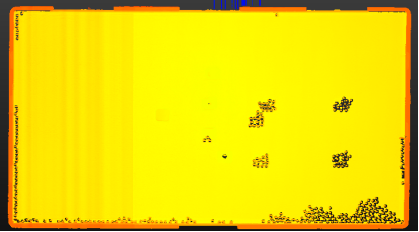
The figure shows the effect of point cloud after splicing
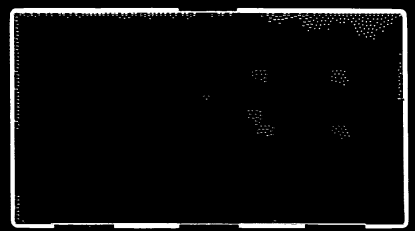
The image shows the depth effect after splicing
Test conclusion
· The collected samples can be accurately tested to detect the accurate number of three samples of cylindrical and steel ball types, and the test results are accurate and error-free
 2024/12/06
