With the rapid development of new energy vehicles, automobile manufacturing has become the second largest scene of 3D machine vision application. The demand for production precision and intelligence in the automobile industry chain is constantly improving, and high-precision manufacturing and testing have become the future trend of the automobile industry chain. The number of precision parts required by the automobile industry has increased significantly, and higher requirements are put forward for the efficiency and accuracy of testing. Therefore, the demand for machine vision in the automobile industry is also constantly increasing.
Today is for you to introduce the application of LVM 2500 series camera in the appearance detection of auto parts!
1. Height difference detection of the positive and negative electrode connector of the automobile battery
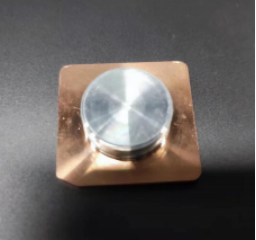
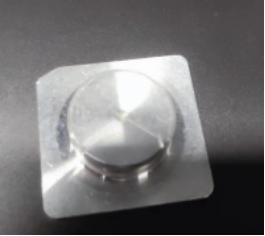
(Physical Figure 1) (Physical Figure 2)
2.1 Requirements analysis
(1)Test the height difference of the product pole column bottom surface
(2)Test the height difference of the bottom surface of the product steps
(3)Dynamic repeatability accuracy: 0.02mm
2.2 Product testing information
(1)Material: aluminum parts
(2)Color: silver-white and yellow
(3)Dimensions: 25mm * 23mm
2.3 Camera type selection
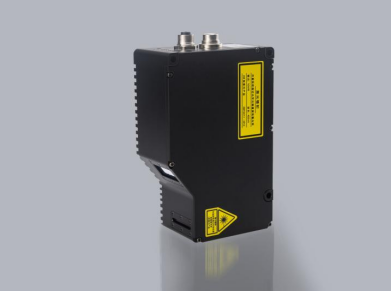
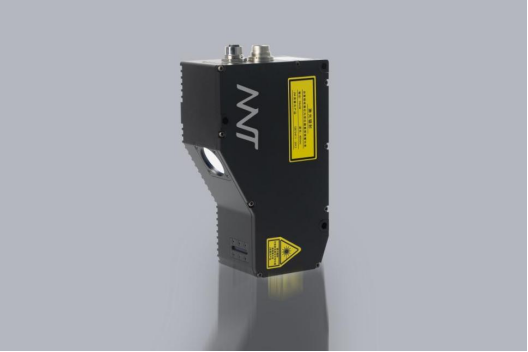
For the above detection requirements, YTechnology's LVM2520-line laser 3D camera is capable of this task. LVM2520 It is mainly suitable for high-speed 3D detection of small parts; it can provide 2500Hz full frame acquisition rate, physical contour points, 4096 points in depth map, up to 56 KHz, which is an ideal choice for high-speed online detection system, light interference in field detection environment; support Modbus output measurement data, and support communication with PLC.
2.4 Detection environment and installation method
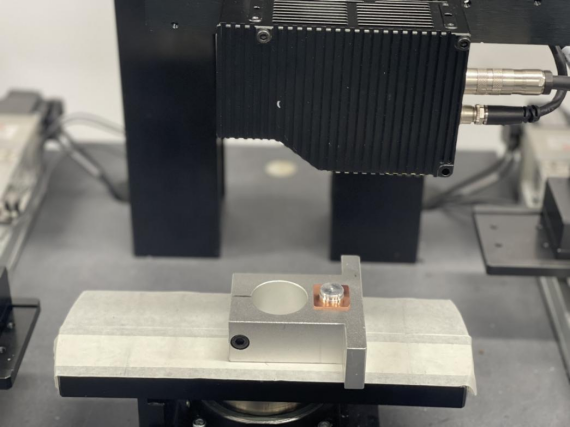
· The distance between the human eye and the surface of the object is 500mm;
· After the camera is fixed, the product is scanned and measured along the linear circular movement of the center;
· The rotating platform needs to have a stable encoder signal output;
· Use 1 camera for line sweep, with the theoretical speed of 64 mm/s
2.5 Drawing acquisition effect
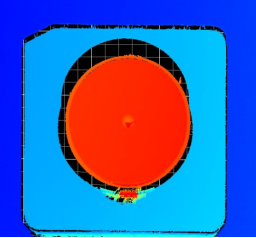
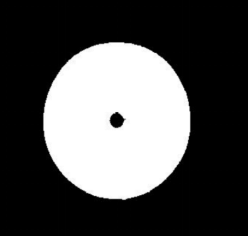
Circle hole feature positioning in the dot cloud map
3. Test conclusion
The LVM2520-line laser 3D camera of Yi Vision Technology is sure to detect the steps of the positive and negative pole connector to the bottom, the pole column to the bottom and the dynamic accuracy of 0.02mm.
Testing value: save manual detection, replace coordinate sampling inspection, realize automatic detection, and improve product quality.
2. Break and difference detection of automobile cooler
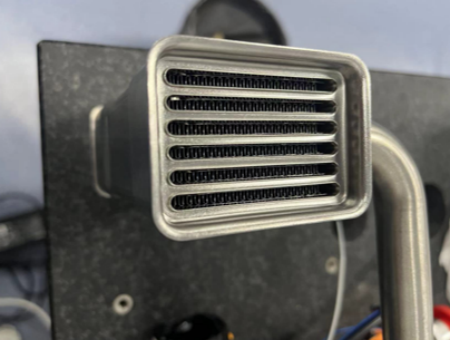
picture of real products
2.1 Requirements analysis
(1)The distance between the heat dissipation pipe and the main piece is greater than 1mm
(2)Product speed requirement: 1s / unit product
2.2 Product testing information
(1)Material: aluminum parts
(2)Color: silver white
(3)Dimensions: 65mm * 45mm
2.3 Camera type selection
For the above detection requirements, YTechnology's LVM2530-line laser 3D camera is capable of this task. LVM2530 It is mainly suitable for high-speed 3D detection of small parts; it can provide 2500Hz full frame acquisition rate, physical contour points, 4096 points for depth map; up to 56 KHz, which is an ideal choice for high-speed online detection system, light interference in field detection environment; support Modbus output measurement data, and support communication with PLC.
2.4 Detection environment and installation method
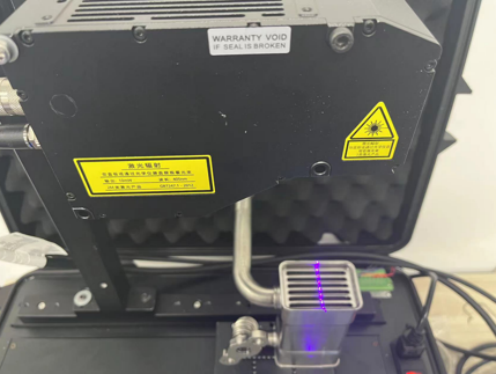
(1) Environmental Description: The product is placed on a linear servo platform, and the camera is horizontally fixed above the product.
(2)Installation method: the camera position is fixed to collect the image by horizontally moving the product.
(3)Acquisition trigger mode: encoder trigger
(4)communication:TCPIP
picture of real products
2.5 Drawing acquisition effect
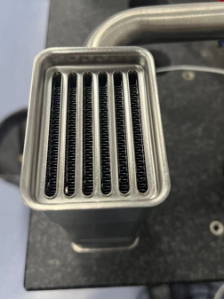
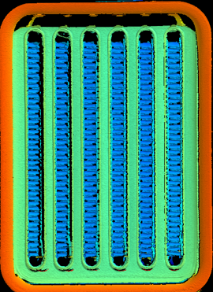
Ok product physical picture Ok product point cloud map
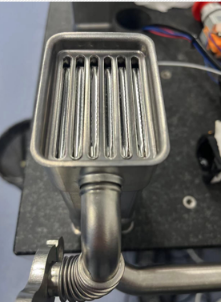
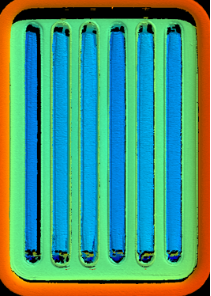
NG product physical map NG product point cloud map
4. Test conclusion
The LVM2530-line laser 3D camera of YTechnology is sure to detect the break value of the car cooler and the speed requirement of 1s / unit.
Testing value: save manual detection, replace coordinate sampling inspection, realize automatic detection, and improve product quality.
 2023/05/24